
On cloudy days, you can turn your travel photos into cinematic masterpieces by embracing the diffused light, which softens shadows and enhances color contrast for vivid, mood-filled images. Use wider apertures, increase ISO, and experiment with compositions like leading lines, reflections, and silhouettes to add depth and drama. Incorporate weather elements like rain or fog to deepen atmospheric effects. Keep honing your skills and exploring creative techniques, and you’ll discover even more cinematic potential amidst overcast skies.
Key Takeaways
- Use diffused, soft lighting to create evenly lit, mood-rich scenes with subtle contrasts.
- Incorporate atmospheric elements like puddles, fog, or rain to add cinematic depth and texture.
- Adjust camera settings—higher ISO, wider apertures, and exposure compensation—to capture details in low-light conditions.
- Compose with leading lines, framing, and reflections to enhance storytelling and visual interest.
- Apply post-processing techniques such as color grading, contrast enhancement, and haze reduction for a dramatic cinematic look.

8K Digital Cameras for Photography, 2026 Autofocus 88MP WiFi Professional Photography Camera with Dual-Lens for YouTube, 16X Digital Zoom, TF Card, Lens Hood, Touch Screen,2 Batteries & Charging Stand
Experience Next-Level Clarity with 8K & 88MP Power–This digital camera capture every detail in stunning clarity with 8K…
As an affiliate, we earn on qualifying purchases.
As an affiliate, we earn on qualifying purchases.
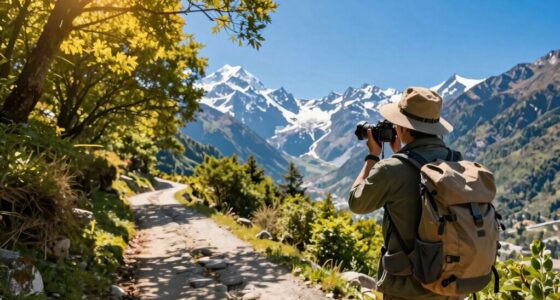
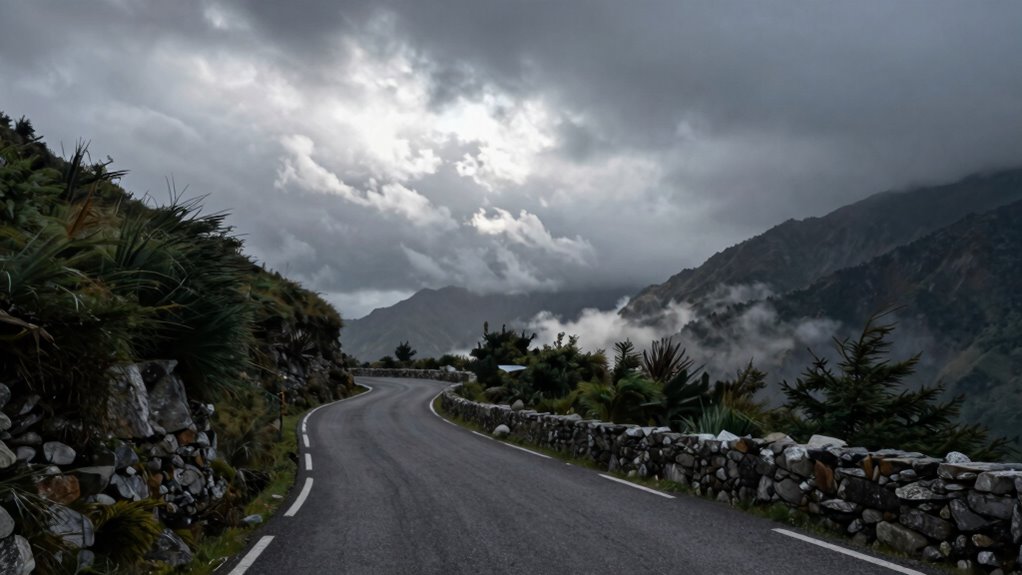
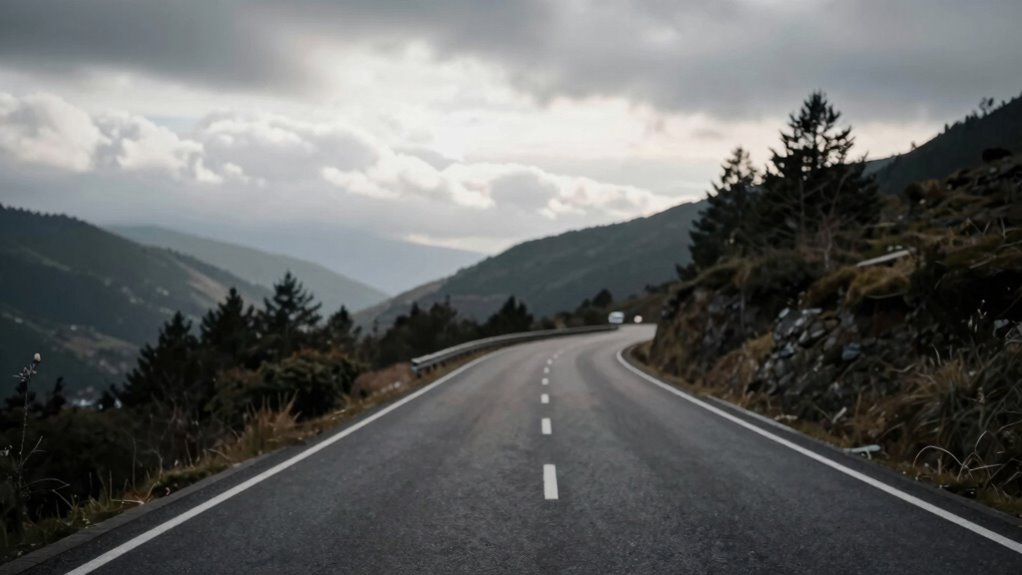
Why Cloudy Days Make Your Travel Photos Look Cinematic

Cloudy days often get a bad rap, but they actually provide a unique opportunity to create cinematic travel photos. The diffused light softens shadows and reduces harsh highlights, allowing color contrast to stand out vividly. This natural contrast adds depth and drama, making your images more striking. Overcast conditions also enhance mood, giving your photos a moody, introspective feel that’s perfect for storytelling. The subdued lighting helps emphasize textures and details that might get lost in bright sunlight. By harnessing this environment, you can craft images that feel more emotionally compelling and visually rich. Additionally, understanding lighting conditions can help you better capitalize on cloudy days for more impactful shots. Recognizing how piercing care and hygiene influence your environment can also assist in planning shots that include people with piercings, ensuring they are comfortable and confident in their appearance. Exploring contrast management techniques can further elevate your cinematic photography. Instead of avoiding cloudy days, see them as a chance to experiment with contrast and mood, elevating your travel photography to a cinematic level. Moreover, studying lighting patterns can help you predict and utilize how light interacts with different subjects in overcast conditions, enhancing your creative control. Furthermore, considering engine performance upgrades can inspire creative vehicle shots that highlight your car’s enhancements in different lighting environments.

NEEWER 32"/80cm 5 in 1 Light Reflector with Clamp & Hand Grips, Polyester Multi Disc Photography Diffuser, Translucent/Silver/Gold/White/Black, 3/8" Thread, for Studio Outdoor Lighting, RF-80II
【5 In 1 Photography Reflectors】 This 5 in 1 light reflector kit consists of a round and translucent…
As an affiliate, we earn on qualifying purchases.
As an affiliate, we earn on qualifying purchases.
How to Master Exposure and Lighting on Overcast Days
On overcast days, adjusting your exposure settings is key to capturing bright, balanced photos. Make sure to increase your exposure or ISO to compensate for the diffused light, and keep an eye on your histogram. Remember, natural light is your best resource—use it wisely to bring out the details and mood of your scene. Additionally, experimenting with different lighting techniques can help you enhance your images even on gloomy days. To prevent unwanted shadows or glare, it’s also helpful to understand heat buffering and how it impacts the quality of your light, allowing for more controlled and cinematic results. Being aware of studio gear like diffusers or reflectors can further optimize your lighting setup in challenging conditions, especially when incorporating landscaping elements to control light reflection and diffusion. Exploring tent camping tips can also help you find ideal outdoor locations with optimal natural lighting in various weather conditions.
Adjust Exposure Settings
When shooting in overcast conditions, adjusting your exposure settings is essential to capture well-lit, balanced images. Start by setting your camera’s ISO to a low value to reduce noise. Then, use your camera’s histogram to ensure proper exposure; avoid clipping highlights or shadows. Consider the following steps:
- Use exposure compensation to brighten your shot without overexposing.
- Enable sensor calibration to correct for any sensor-related inconsistencies.
- Check lens distortion correction settings to ensure straight lines and accurate composition.
- Adjust your shutter speed and aperture to balance the exposure, especially when capturing dynamic scenes.
- Incorporate sound vibrations to enhance cellular regeneration and overall health, which can indirectly influence your alertness and focus during photography sessions. Additionally, understanding camera settings can help you make more precise adjustments tailored to overcast lighting conditions. Proper exposure also benefits from recognizing how lighting conditions affect image quality, allowing you to adapt your settings more effectively. Being aware of how sensor performance impacts your images can help you choose the optimal settings in challenging lighting environments. Moreover, familiarizing yourself with exposure triangle principles can improve your ability to quickly adapt settings in variable lighting conditions.
These adjustments help maintain image quality and detail, even in challenging lighting environments. Proper exposure, combined with calibration and distortion correction, results in cinematic, vibrant photos.
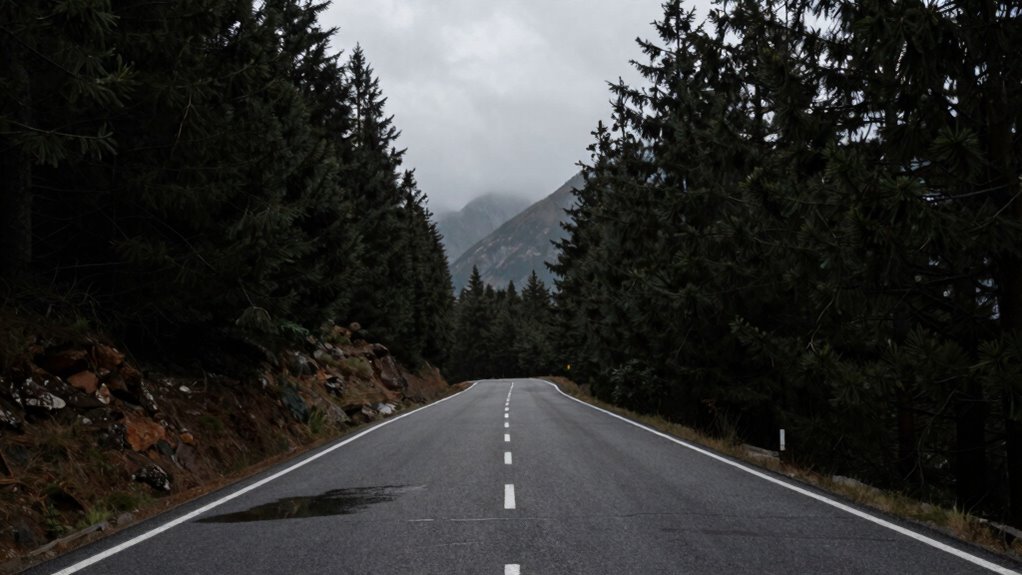
Utilize Natural Light
Overcast days offer soft, diffused natural light that can create stunning, evenly lit images. To maximize this, pay attention to color contrast; subdued light can make colors appear muted, so enhance contrast in post-processing or choose subjects with vibrant hues. Use a wide focal length to compress scenes and emphasize details, or a longer focal length to isolate subjects and create a cinematic feel. Natural light on overcast days reduces harsh shadows, allowing you to focus on composition and mood. Position your subject to benefit from the soft light, avoiding overly flat images by adjusting your angle. Remember, the even illumination helps highlight textures and subtle color variations, making your travel photos look cinematic and engaging even without bright sunlight. Additionally, understanding regional flavors and incorporating local elements can add depth and storytelling richness to your images. Incorporating luxury accessories, such as elegant glassware or textured wallpapers, can also inspire creative staging and add a touch of sophistication to your scenes. Recognizing the importance of personality traits can help in selecting subjects or models that enhance your visual narrative. Moreover, being aware of how best heat pump features operate can inspire innovative ideas for capturing the essence of comfort and efficiency in your travel photography. Embracing the concept of lighting techniques specific to overcast conditions can further elevate your cinematic storytelling.

1.88mm Mini Fisheye Camera Lens, 5MP HD 180° Wide Angle M12x0.5 Thread CCTV Camera Lens for 1/3inch and 1/4inch CCD Chipsets/with an Aperture of F2.0
1.8mm 180° wide angle board lens for CCTV cameras has standard M12x0.5 thread.
As an affiliate, we earn on qualifying purchases.
As an affiliate, we earn on qualifying purchases.
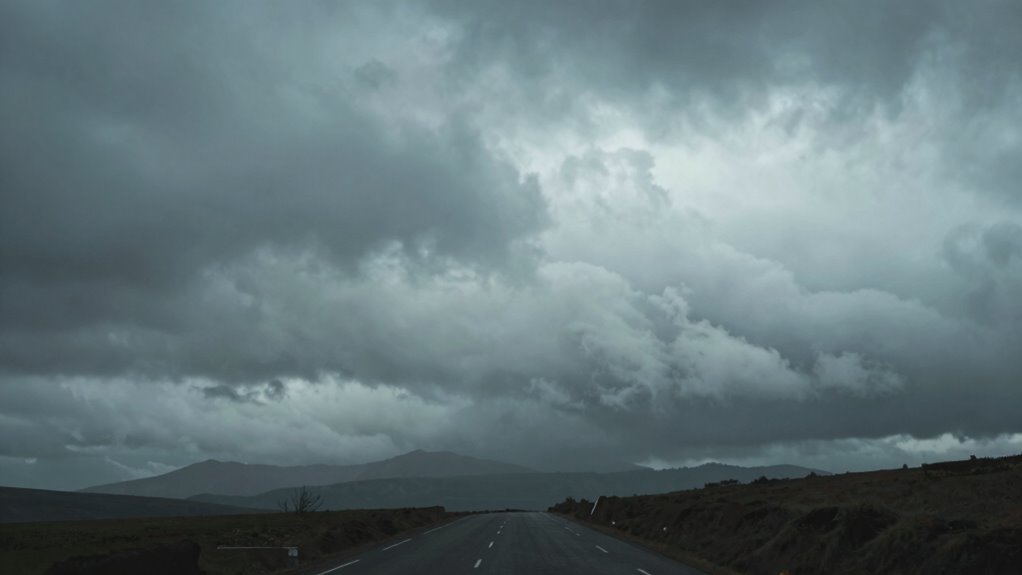
Using Weather and Environment to Create Mood in Photos
Weather and environment play a powerful role in shaping the mood of your photos, instantly conveying emotion without words. To harness this, consider how different weather conditions influence your scene. Use overcast skies to create muted color palettes, emphasizing somber or introspective moods. Rely on weather forecasting to anticipate rain or fog, giving you time to prepare and capture unique atmospheric effects. Leverage puddles or wet surfaces to reflect the environment, adding depth and cinematic quality. Incorporate weather conditions to enhance storytelling and mood in your images. Embracing the power of curiosity can help you experiment with unexpected weather phenomena, unlocking new creative possibilities. Observing changes in natural elements like wind-blown trees or drifting leaves can evoke movement and drama. Paying attention to weather safety tips such as being cautious around wet surfaces ensures a safer shooting environment while capturing moody weather scenes.

K&F CONCEPT 64 inch/163 cm Camera Tripod,Lightweight Travel Outdoor DSLR Tripods with 360 Degree Ball Head Load Capacity 17.6 lbs/8 kg,Cellphone Clip for Smartphone Live Streaming Vlog O234A1+BH-36
【Lightweight and Portable】4 section leg can adjust tripod height from 20.4''/52cm to 64.1''/163cm; it can be folded to…
As an affiliate, we earn on qualifying purchases.
As an affiliate, we earn on qualifying purchases.
Composition Tips for Moody, Cinematic Travel Shots
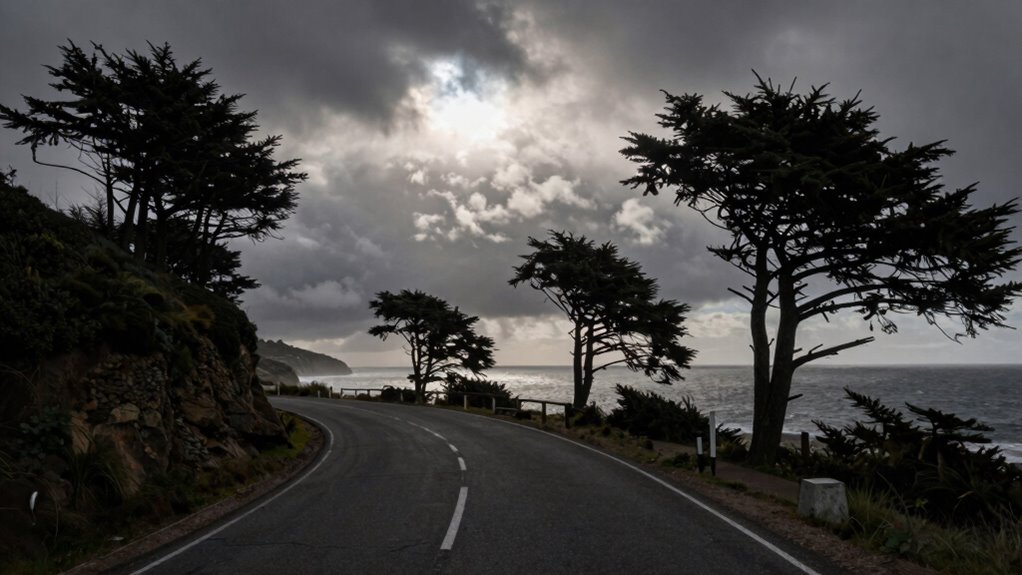
To craft moody, cinematic travel shots, focus on composing your scene to highlight contrasts, leading lines, and framing that draw viewers into the story. Use strong color contrast to emphasize the subject against muted or monochrome backgrounds, adding depth and drama. Incorporate foreground framing—like archways, trees, or architecture—to create layers that guide the eye toward your main subject. This technique adds a sense of intimacy and dimension, making your shot more engaging. Pay attention to how elements interact within the scene, balancing dark and light areas to evoke mood. By carefully considering color contrast and foreground framing, you’ll craft images that feel cinematic and emotionally compelling, perfect for capturing the moody atmosphere of a cloudy day. Additionally, experimenting with lighting techniques can further enhance the cinematic quality of your photos, highlighting textures and mood. Exploring post-processing methods can also help refine the mood and atmosphere of your images, giving them that polished, cinematic look.
Camera Settings for Shooting on Cloudy Days
Shooting on cloudy days requires adjusting your camera settings to capture the moody atmosphere effectively. To enhance your cinematic look, consider these key settings:
- Increase ISO slightly (e.g., 400-800) to compensate for lower light without introducing noise.
- Use a wider aperture (f/2.8–5.6) to let in more light and create a shallow depth of field.
- Set your white balance to cloudy or auto to preserve warm tones for film simulation and easier color grading later.
- Choose a flat or neutral picture profile to maximize dynamic range and facilitate color grading, enhancing the film simulation effect.
Adjusting these settings helps you craft cinematic, moody images that are ready for post-processing and color grading to emphasize the atmospheric feel.
Post-Processing Tricks to Add Drama and Depth
Enhancing your cloudy day photos in post-processing is key to creating a dramatic and immersive atmosphere. Start with color grading to amplify mood—boost contrast, deepen shadows, and add cool or warm tones to evoke emotion. Adjusting hues can emphasize the gloomy sky or highlight specific elements, bringing depth to your image. Lens selection during shooting influences how you handle post-processing; for example, images shot with a wide-angle lens may require vignette correction or perspective adjustments to enhance drama. Use tools like clarity and dehaze sliders to increase texture and reduce atmospheric haze, making your scene more striking. Fine-tune these elements to craft a cinematic look that captures the moody essence of a cloudy day while adding visual depth and intensity.
Creative Ideas for Cloudy Day Travel Photography
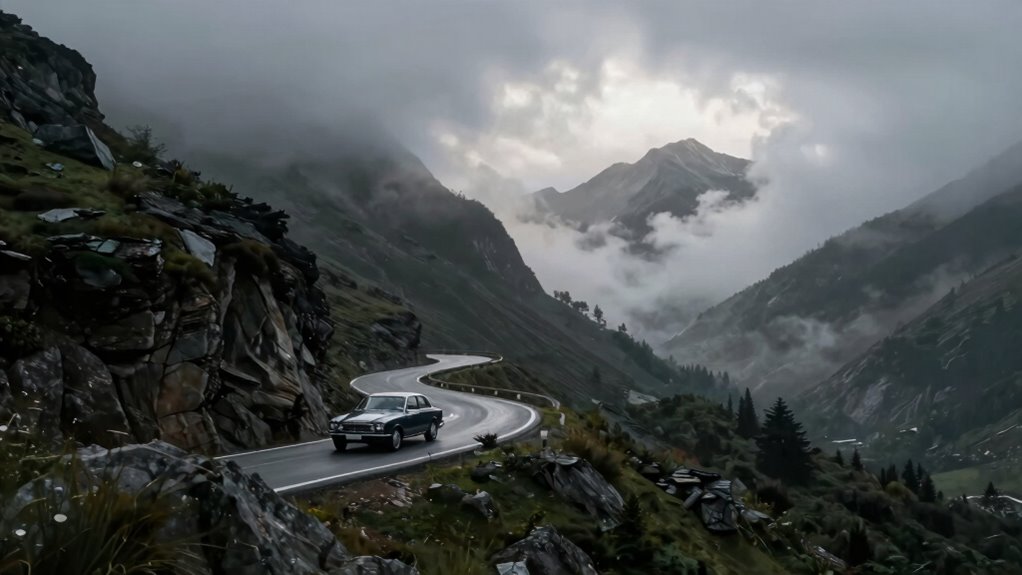
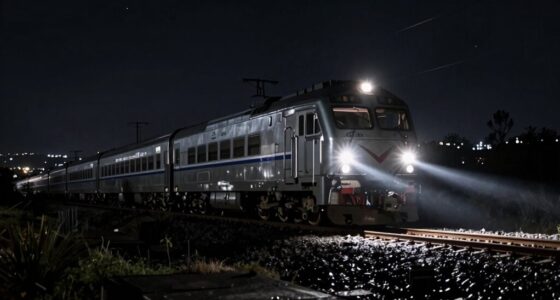
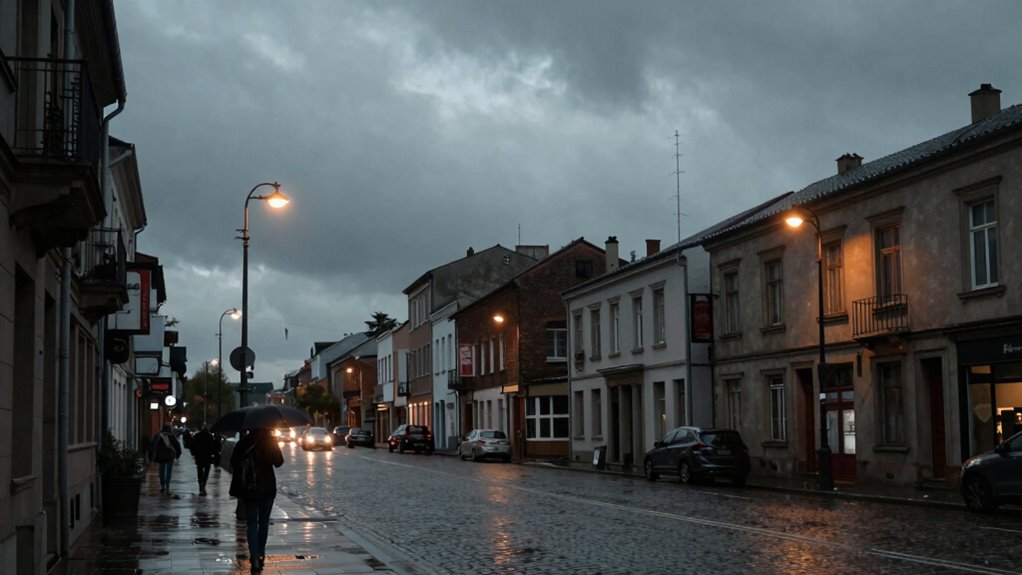
Cloudy days offer a unique canvas for travel photography, transforming familiar scenes into moody, atmospheric images. Embrace the cloudy sky to create dramatic contrasts and softer tones. Use urban shadows to add depth and intrigue, highlighting architecture or street life. Here are four creative ideas:
Cloudy days transform familiar scenes into moody, atmospheric cityscapes full of contrast and intrigue.
- Capture reflections in puddles or windows, emphasizing the cloudy sky’s mood.
- Focus on silhouettes against the diffused light, revealing urban shadows and shapes.
- Experiment with black-and-white to emphasize contrast and texture.
- Frame scenes with leading lines or natural framing to guide viewers through moody cityscapes.
Frequently Asked Questions
How Can I Prevent My Photos From Looking Dull on Cloudy Days?
To prevent your photos from looking dull on cloudy days, you should focus on color grading and contrast enhancement. Boost the saturation slightly to bring out muted colors and increase contrast to add depth and dimension. Use editing tools to selectively enhance highlights and shadows, making your images pop. This approach helps create vibrant, cinematic travel photos, even in overcast conditions, giving your shots a lively, dynamic feel.
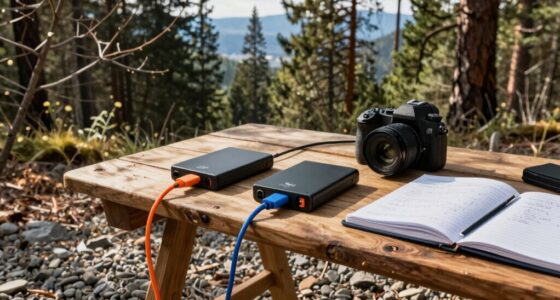
What Equipment Is Best for Shooting in Overcast Conditions?
Ironically, your best equipment for overcast conditions isn’t fancy gear but a good sensor and tripod. Use a camera with a wide dynamic range to handle the flat light, and choose a sturdy tripod for stability in lower light. A fast lens helps gather more light, making your shots sharper and more vibrant. Trust these essentials, and you’ll turn gloomy skies into cinematic scenes rather than dull photos.
How Do I Protect My Camera From Weather Elements During Cloudy Shoots?
To protect your camera during cloudy shoots, focus on camera weatherproofing by using protective gear like a rain cover or a waterproof camera bag. Make certain all seals and ports are secure to prevent moisture from entering. Additionally, carry lens wipes and microfiber cloths to keep your lens clear. These steps help shield your gear from rain, humidity, or dew, allowing you to capture cinematic travel photos without worry.
Are There Specific Lenses That Enhance Cinematic Effects on Cloudy Days?
You should consider using prime lenses and wide-angle lenses to enhance cinematic effects on cloudy days. Prime lenses offer sharpness and beautiful background blur, making your subject stand out. Wide-angle lenses introduce dramatic perspective and emphasize the moody sky, adding depth to your shots. These lenses help you capture the cinematic mood, even in overcast conditions, creating more compelling and atmospheric travel photos.
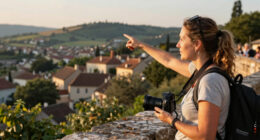
How Can I Incorporate Human Elements to Add Life to Cloudy Travel Photos?
Did you know that photos with human elements tend to engage viewers 60% more? To add life to cloudy travel photos, capture street life and candid moments. Focus on authentic expressions and interactions, framing people naturally within your scene. Use shallow depth of field to highlight your subjects against the moody sky, creating a cinematic feel. This approach brings energy and storytelling to your images, making them more compelling and lively.
Conclusion
So there you have it—your cheat sheet to turning gloomy cloud cover into cinematic gold. Who knew that overcast skies could be your secret weapon for moody shots? Next time the weather’s less than perfect, just remember: embrace the gloom, master your settings, and let your photos scream, “Look at me, I’m artsy and dramatic!” Because if you can’t beat the clouds, make them your film noir! Happy shooting!