
To take sharp photos in museums and dark churches without flash, use a fast lens with a wide aperture (f/1.4 or f/2.8) to let in more light. Switch to manual mode to control ISO, shutter speed, and aperture. Stabilize your camera with a tripod or support, and keep ISO as low as possible to avoid noise. Focus precisely using manual or single-point autofocus, and adjust settings to maximize available light—more tips are just ahead.
Key Takeaways
- Use a tripod or stabilize your camera on a steady surface to prevent shake during long exposures.
- Increase ISO cautiously to boost light sensitivity without introducing excessive noise.
- Opt for a wide aperture (f/1.4–f/2.8) to maximize light intake and improve low-light focus.
- Select a fast shutter speed (1/60 sec or higher) to minimize motion blur during handheld shots.
- Focus precisely with single-point autofocus or manual focus, and include available light sources in your composition.

Canon EF 50mm f/1.8 STM Lens, Black, Compatible with Canon EOS DSLR Cameras
50 millimeter focal length and maximum aperture of f/1.8
As an affiliate, we earn on qualifying purchases.
As an affiliate, we earn on qualifying purchases.
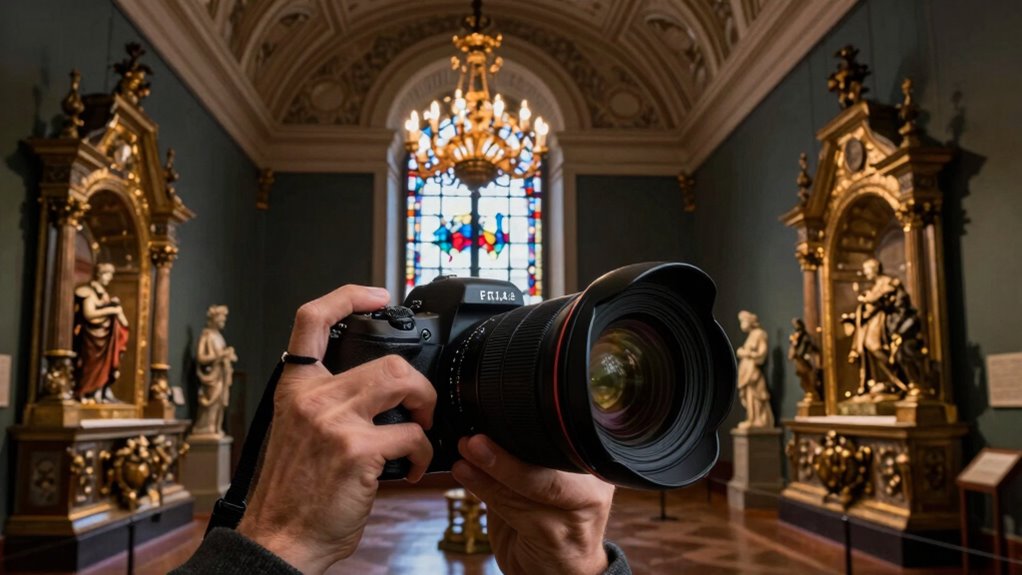
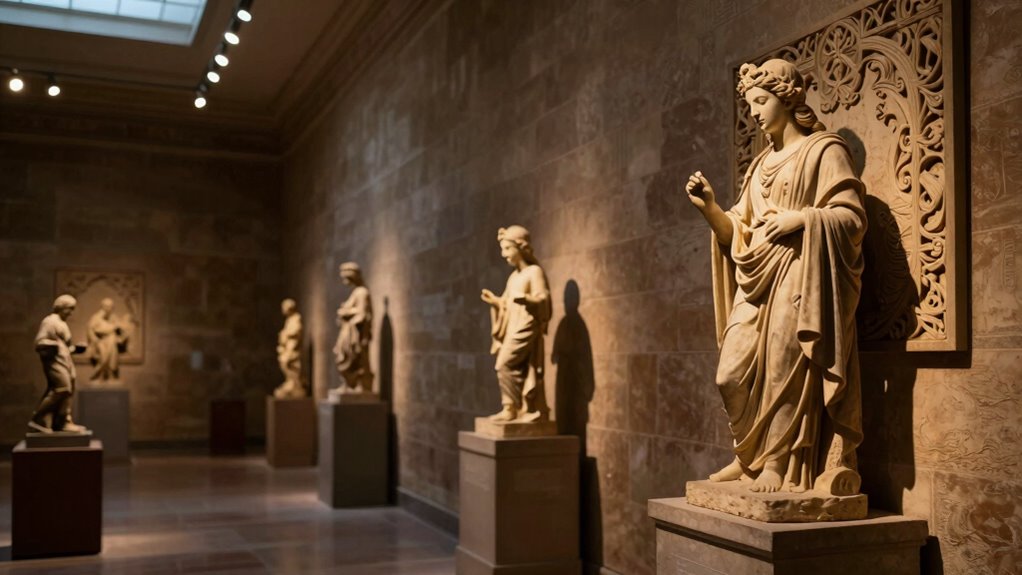
How to Photograph in Dark Churches and Museums Without Flash
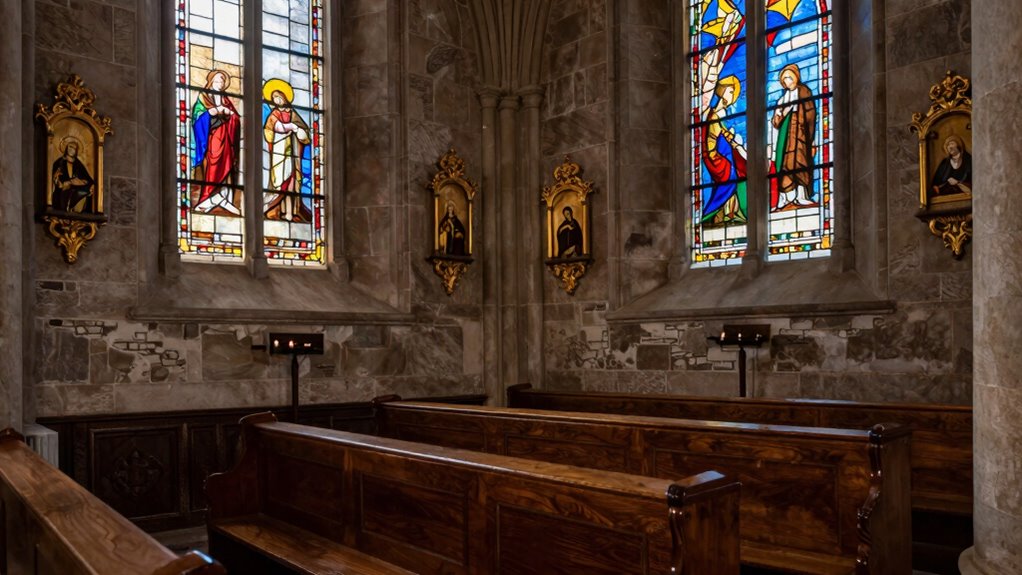
Photographing in dark churches and museums without flash can be challenging, but with the right techniques, you can capture sharp, detailed images. Start by mastering lighting techniques like using available ambient light and adjusting your camera’s ISO to boost sensitivity without introducing too much noise. Keep your camera steady by using a tripod or resting it on a stable surface to prevent blur. Composition tips are essential; frame your shot to maximize the available light, focusing on strong lines and symmetry to draw the eye. Pay attention to the direction of light, highlighting textures or details that add depth. Experiment with different angles and perspectives to find the best illumination and composition, ensuring your photos are clear and visually compelling despite low light conditions. Additionally, understanding your camera’s sensor capabilities can help you optimize settings for low-light environments and achieve sharper images, especially when leveraging features like noise reduction to improve image quality in challenging conditions. Considering the dynamic range of your camera can also help you better capture scenes with both bright and dark areas, ensuring more balanced and detailed photos. Exploring how your camera handles low-light performance can further enhance your ability to adapt settings for optimal results, and being aware of the local cultural and architectural features can inspire creative compositions that highlight the scene’s unique character.

Ulanzi TT43 Extendable Photography Light Stand, Adjustable 6.23ft Aluminum Tripod, Reversible Portable Studio Lighting Tripod for Continute Output Lighting/Strobe Light/Webcams/Cameras/Softbox
【Ultra Sturdy Aluminum Light Stand】This TT43 professional photography light stand features full metal build with anodized aluminum alloy,…
As an affiliate, we earn on qualifying purchases.
As an affiliate, we earn on qualifying purchases.
Understanding How Low Light Affects Your Camera Settings
When shooting in low light, you need to adjust your camera settings to get a clear shot. Increasing your ISO sensitivity makes your camera more responsive to dim conditions, but too high can introduce noise. Controlling shutter speed is also essential—slower speeds let in more light but can cause blur, so find the right balance. Additionally, understanding how lighting conditions impact your photos can help you choose the best settings for sharp images. Using natural lighting effectively can also reduce the need for high ISO settings and improve overall image quality. Incorporating simple techniques like foam rolling can help improve your overall recovery and HRV, leading to better focus and steadiness when capturing photos in challenging lighting, and considering camera stabilization tools can further enhance sharpness. Paying attention to sensor sensitivity and how it interacts with your environment allows you to optimize your camera’s performance in low-light situations.
ISO Sensitivity Adjustment
In low-light environments like museums and dark churches, adjusting your camera’s ISO sensitivity is essential to capturing clear, sharp images. Increasing the ISO makes your camera sensor more sensitive to light, helping you shoot without a flash. However, higher ISO settings can introduce noise, which appears as grainy spots in your photos. To manage this, choose the lowest ISO possible that still allows proper exposure. Modern cameras often include noise reduction features that minimize grain without sacrificing detail. Keep in mind that boosting ISO too high can reduce image quality, so find a balance that maintains sharpness while controlling noise. If you notice too much grain, lower the ISO or combine it with a tripod to stabilize longer exposures. Additionally, understanding how sensor technology advancements can help you make better decisions when adjusting ISO settings for different environments. Being aware of image processing algorithms can further improve photo quality by reducing noise during post-processing. Recognizing how camera sensor design influences noise levels can also guide you in selecting the right equipment for low-light photography. Moreover, exploring dynamic range capabilities can help you optimize exposure and detail in challenging lighting conditions.
Shutter Speed Control
Low light conditions challenge your camera’s ability to freeze motion and capture sharp images, making shutter speed a crucial setting. To prevent blur, use a faster shutter speed, especially when handheld. However, low light means you need to balance shutter speed with aperture control—widening your aperture lets in more light, allowing for quicker shutter speeds. When extra stability is needed, rely on tripod stability to keep your camera steady during longer exposures. This reduces camera shake, ensuring sharp images. Remember, a slower shutter speed may be necessary for very dark scenes, but always assess whether your camera remains stable. Adjusting aperture alongside shutter speed helps you find the perfect balance for clear, crisp photos in challenging low-light environments. Smart pool automation systems can also help optimize lighting conditions in indoor environments such as museums and churches.

Acer 1080p Webcam USB Plug and Play Webcam for PC with Noise Cancellation Microphones Computer Camera for Desktop Streaming Gaming Online Meeting Wide Angle Privacy Cover A-to-C Adapter Easy Setup
1080P Full HD Webcam – Experience smooth and clear video calls with our 1080P Full HD webcam for…
As an affiliate, we earn on qualifying purchases.
As an affiliate, we earn on qualifying purchases.
Choose a Fast Lens With a Wide Aperture for Better Light Capture
Choosing a fast lens with a wide aperture allows you to gather more light, making it easier to shoot sharp images in low-light settings. Make sure your lens is compatible with your camera body and understand the best F-stop range for your desired depth of field. With the right lens and settings, you’ll capture clearer, brighter photos even in the dimmest environments. Additionally, understanding regional flavor profiles can help you anticipate lighting conditions and enhance your photography approach. Being aware of toilet flushing mechanisms can also inspire creative techniques for managing low-light situations, such as using available water fixtures or ambient light sources creatively. Proper piercing care and hygiene ensures your equipment remains in optimal condition, which can be crucial when maintaining your camera gear in challenging environments. Familiarity with styling products can help you prepare your gear and personal appearance for quick adjustments in varying settings. Developing an understanding of lighting conditions can further improve your ability to adapt your camera settings effectively.
Wider Aperture Benefits
A lens with a wide aperture allows you to gather more light, which is essential when shooting in dim environments like museums and dark churches. This increased light intake improves aperture sharpness, making your images clearer and more detailed. Additionally, a wider aperture gives you better control over depth, allowing you to blur backgrounds and highlight your subject. This effect helps isolate details and creates a sense of depth in your photos. The table below highlights how aperture size influences your shot:
| Aperture Size | Effect on Depth | Impact on Sharpness | Best Use Case |
|---|---|---|---|
| Wide (f/1.4) | Shallow depth | Enhanced aperture sharpness | Portraits, details |
| Narrow (f/8) | Deep depth | Less aperture sharpness | Wide scenes, landscapes |
Choosing a lens with a wide aperture maximizes light and creative control. Using lens aperture effectively can significantly improve your low-light photography in challenging environments.
A wide aperture also allows for selective focus, making your subject stand out sharply against a blurred background. To get the most out of your gear, investing in a fast lens with a wide maximum aperture can be a game-changer for capturing sharp images in low light.
Moreover, understanding aperture sharpness helps you optimize your camera settings for better results in dark settings.
Lens Compatibility Tips
To capture sharp photos in dim environments like museums and dark churches, it’s essential to select a lens with a wide aperture that’s compatible with your camera. Check your camera bodies’ lens mount to confirm compatibility before making a purchase. Fast lenses with wide apertures, such as f/1.4 or f/2.8, let in more light, improving low-light performance. Additionally, consider lens filters that can reduce glare or enhance contrast without compromising aperture size. Using the right lens filters can help you achieve clearer images in challenging lighting conditions. Avoid lenses that don’t match your camera bodies’ specifications, as this can lead to focus issues or image quality loss. Proper lens compatibility ensures you maximize your camera’s potential for sharp, well-exposed photos in dark environments. Embracing artistic expression and understanding your gear can help you overcome challenging lighting and capture stunning images. Being aware of your camera’s sensor size can also influence your choice of lenses and settings for optimal results.
Optimal F-Stop Settings
Selecting the right aperture setting plays a key role in capturing sharp photos in low-light environments. Using a fast lens with a wide f-stop, like f/2.8 or wider, lets in more light, reducing the need for high ISO or slow shutter speeds. This helps prevent blurry images caused by camera shake or subject movement. When adjusting your f-stop, consider your lighting equipment and scene; a wider aperture enhances image composition by creating a pleasing background blur and highlighting your subject. Keep in mind, a very wide aperture may reduce depth of field, so focus precisely. Experiment with different f-stops to find the most suitable balance between light capture and sharpness, ensuring your photos are clear and well-exposed even in challenging lighting conditions.

EF 85mm f1.8 Portrait Lens – MF for Canon EOS Rebel T8i/T7i/T7/T6i/T5/T3i/T3/T2i/XSi/XS/SL3/SL2/T100/90D/80D/70D/50D/5D Mark IV/6D II/7D II/1D X III II-Manual Focus DSLR Cameras Lenses(EF/EF-S Mount)
[Easy-to-Use Warm Tips] – ⚠Fully manual, Non-autofocus(Advantages: precise focus control, creative freedom, high adaptability, stability and durability, and…
As an affiliate, we earn on qualifying purchases.
As an affiliate, we earn on qualifying purchases.
Use Manual Mode to Control Exposure in Low-Light Conditions
When shooting in low-light conditions like museums or dark churches, switching your camera to manual mode gives you full control over exposure settings. This allows you to fine-tune your lighting techniques, guaranteeing your photos are well-exposed without relying on auto settings that may overexpose or underexpose the scene. Start by adjusting the ISO to the lowest setting possible to reduce noise. Set your aperture based on your desired depth of field, often using the ideal F-stop from previous tips. Then, tweak the shutter speed to balance exposure—longer exposures capture more light but require steady hands or a tripod. Proper camera calibration, including white balance adjustments, ensures accurate colors. Manual mode empowers you to respond precisely to the lighting conditions, resulting in sharper, clearer images.
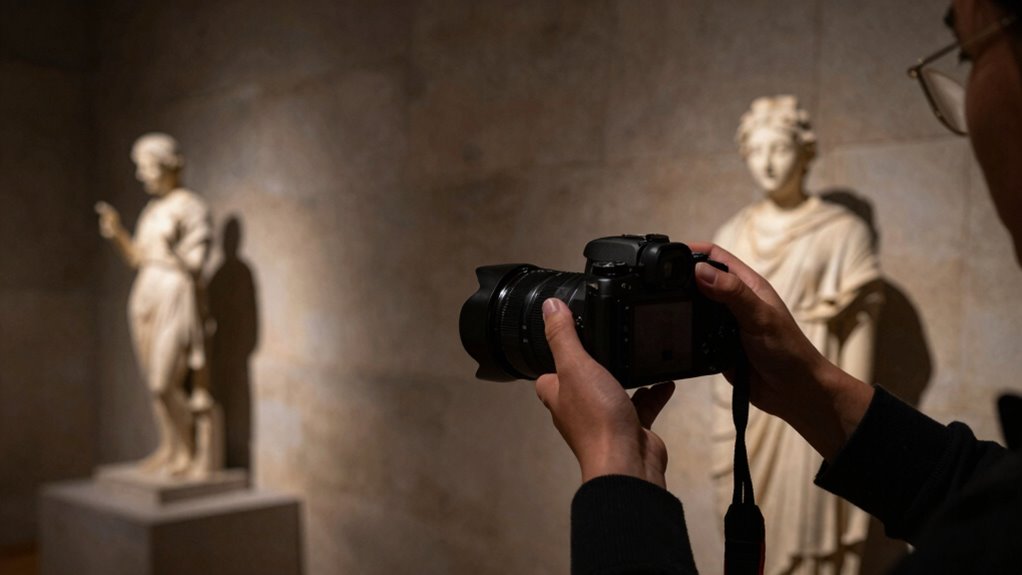
Find the Best Focus Technique for Sharp Details in Dim Environments
Achieving sharp details in low-light conditions requires more than just proper exposure settings; it also depends on how you focus your camera. To guarantee crisp results, explore different autofocus techniques and manual focusing options. First, use single-point autofocus to target specific details precisely. Second, switch to manual focusing when autofocus struggles with low contrast or poor lighting—this gives you direct control. Third, consider focus peaking if your camera supports it, highlighting the sharpest areas visually. Combining these methods allows you to adapt to challenging environments. Experiment with autofocus modes like face detection or contrast-detection, and don’t hesitate to switch to manual focus when necessary. Mastering these focus techniques will considerably improve the clarity of your photos in dim environments.
Select the Right Shutter Speed to Prevent Motion Blur
To prevent motion blur in your museum or dark church photos, choosing the right shutter speed is essential. A slow shutter speed can cause blur from hand tremor or shutter lag, especially in low light. To avoid this, use a shutter speed of at least 1/60 sec for handheld shots, or faster if possible. Consider the table below to visualize how different speeds impact image sharpness:
| Shutter Speed | Hand Tremor Risk | Motion Capture Capability |
|---|---|---|
| 1/30 sec | High | Poor |
| 1/60 sec | Moderate | Fair |
| 1/125 sec | Low | Good |
| 1/250 sec | Very low | Excellent |
Keep in mind shutter lag can also delay capturing sharp images, so anticipate movement and press the shutter smoothly.
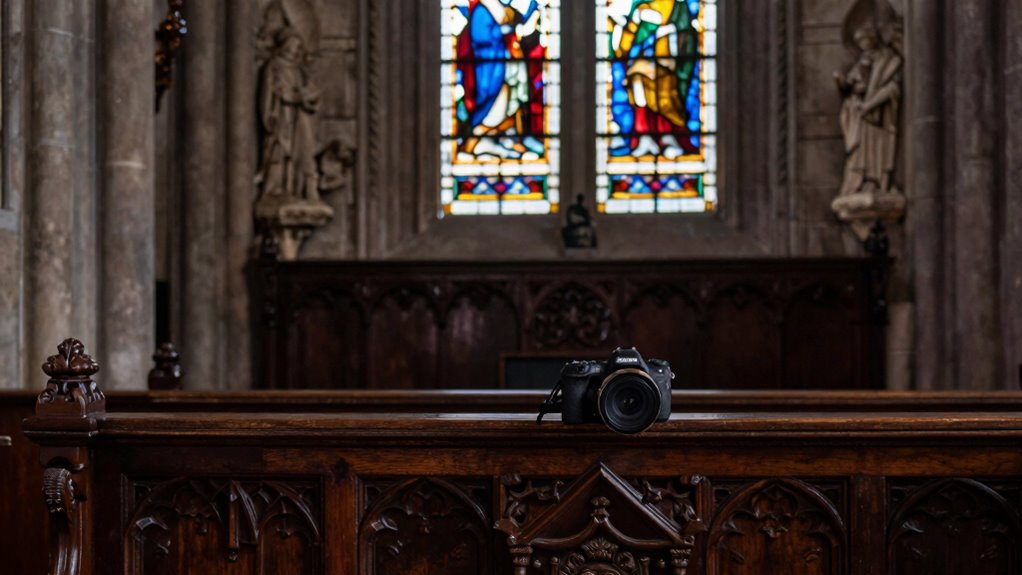
Stabilize Your Camera With Tripods or Supports to Avoid Shake
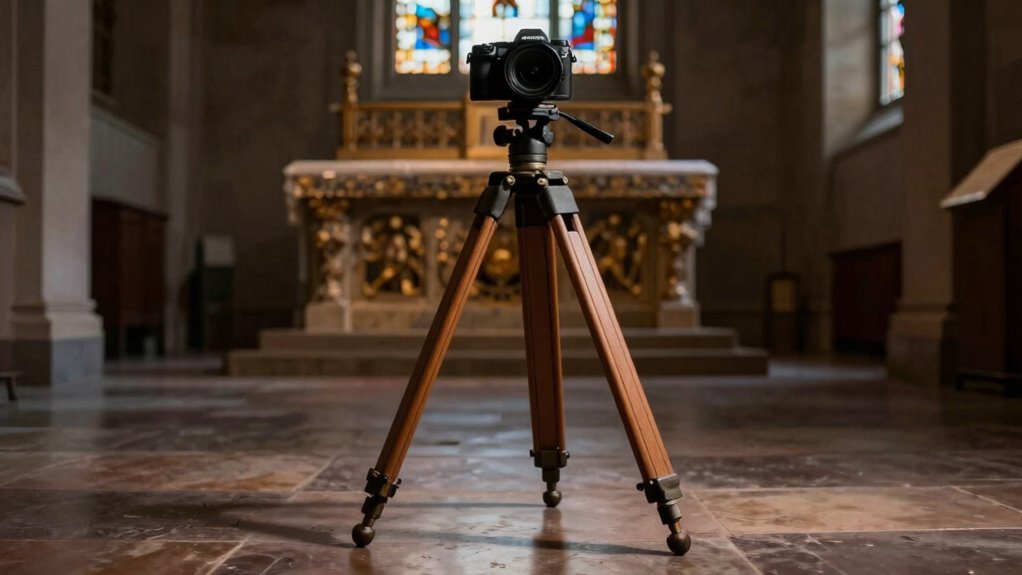
Using a tripod or other supports keeps your camera steady, reducing shake and ensuring sharper images. You can also stabilize your camera by placing it on a solid surface or using a steady hand technique. Mastering these methods makes a big difference in low-light photography.
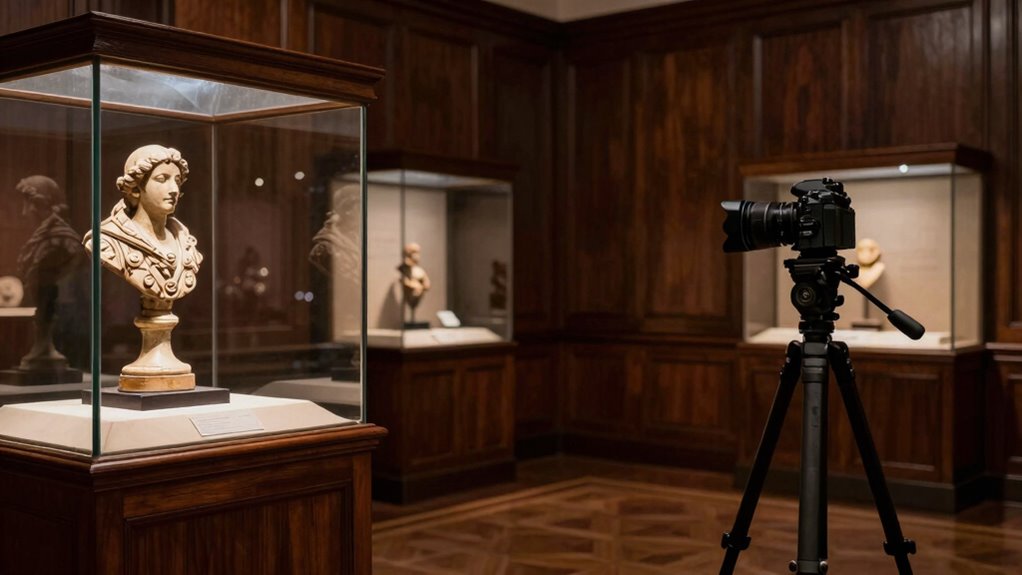
Use Tripods Effectively
When shooting in low light conditions like museums or dark churches, handheld shots often result in blurry images due to camera shake. To maximize tripod stability and avoid this, consider these tips:
- Ensure proper setup – Extend the tripod legs fully and level the tripod head for maximum stability.
- Use the right accessories – Attach a remote shutter or timer to prevent vibrations from pressing the shutter button.
- Check accessory compatibility – Confirm your tripod supports your camera’s weight and mounting options to avoid wobbling.
Employ Camera Supports
Employing camera supports like tripods or other stabilizers can considerably improve your shot quality in low-light environments. A sturdy tripod ensures your camera stays steady, reducing blur caused by hand shake. Regular tripod maintenance, like tightening joints and cleaning the head, keeps it reliable during long exposures. If a tripod isn’t practical, consider supports such as monopods or wall mounts. Additionally, your camera strap choices matter; a secure, padded strap can help stabilize your camera against your body, especially when shooting handheld. Use a strap that allows you to grip the camera firmly, minimizing movement. Combining these supports helps you achieve sharper images without introducing noise or motion blur, making it easier to capture detailed, well-exposed photos in challenging lighting conditions.
Steady Hand Techniques
To prevent camera shake and guarantee sharp photos in low-light settings, stabilizing your camera with supports is essential. Improving your hand steadiness and grip techniques can make a big difference. Here are three effective methods:
- Use a firm grip: Hold your camera with both hands, fingers wrapped securely around the body, with your elbows tucked in to create a stable base.
- Brace against surfaces: Rest your elbows on a stable surface like a ledge or pew to reduce movement.
- Control your breathing: Take a deep breath, exhale slowly, and gently press the shutter while holding your breath to minimize shake.
These techniques help you maintain a steady hand, resulting in clearer, sharper images without the need for extra equipment.
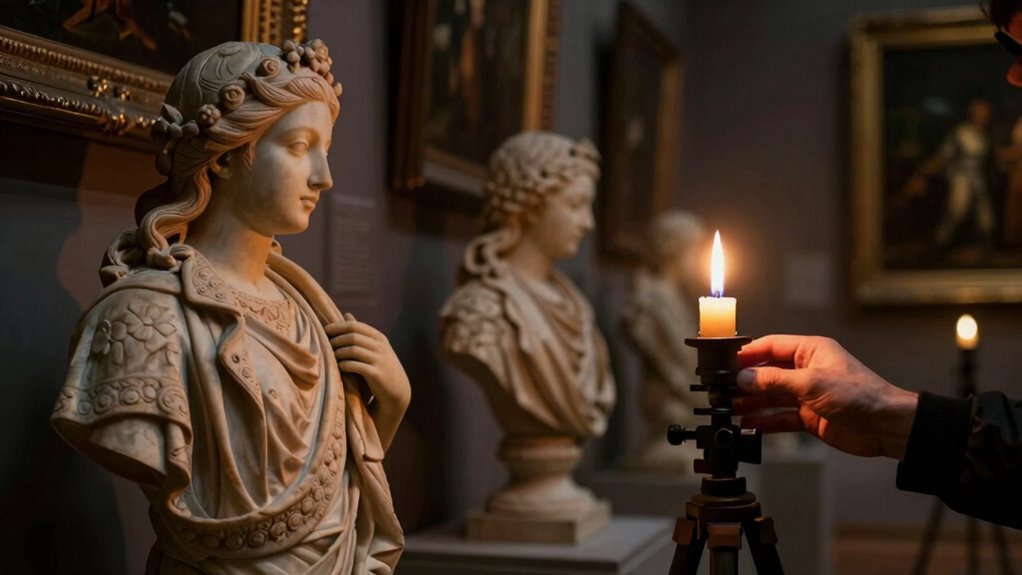
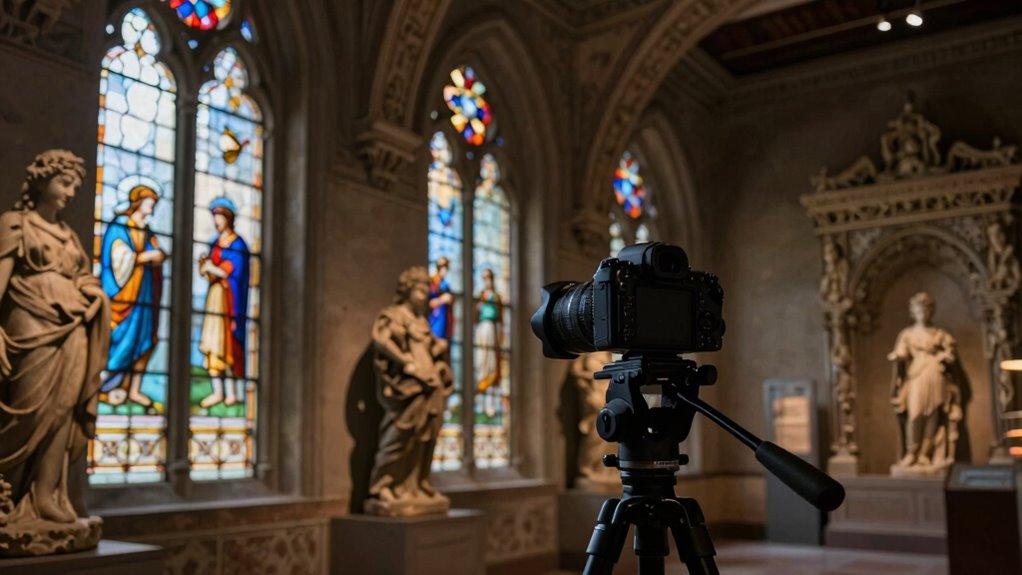
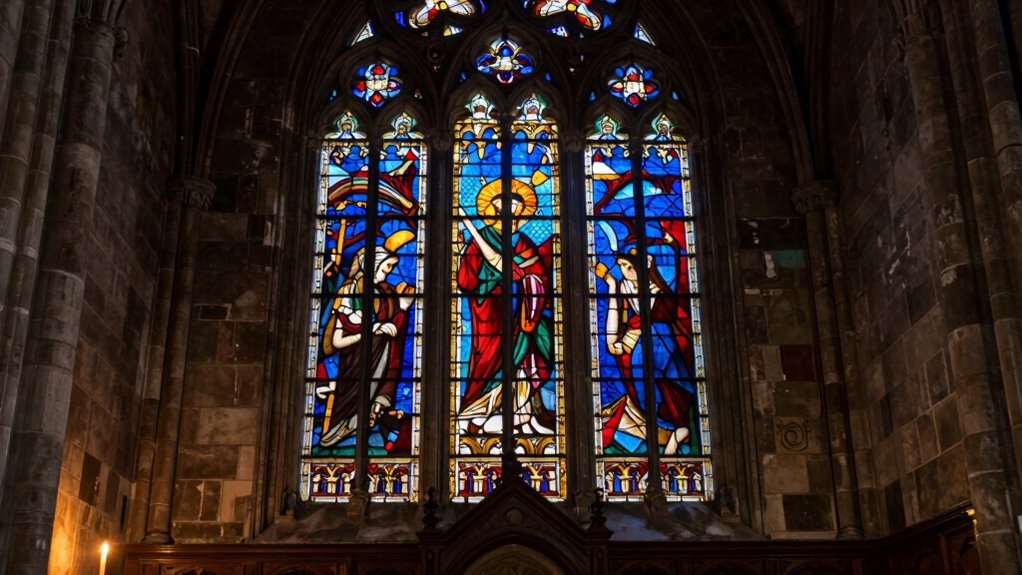
Maximize Available Light Near Natural or Artificial Sources
Maximizing available light is essential for capturing sharp photos in museums and dark churches. To do this, use effective lighting techniques, such as positioning yourself near windows or artificial light sources to boost illumination without a flash. Pay attention to how light falls on your subject to reduce shadows and enhance details. Incorporate composition strategies like framing your shot to include natural light streams or ambient lamps, which can add depth and mood. Adjust your camera settings to make the most of the light—using wider apertures and higher ISO if needed—while keeping noise minimal. By focusing on available light and smart composition, you’ll improve your chances of capturing clear, sharp images even in low-light environments.
Troubleshooting Tips: What to Do When Your Photos Are Still Blurry?
Even when you’ve adjusted your camera settings and used available light effectively, blurry photos can still happen. To troubleshoot, start with these steps:
- Check your equipment maintenance—ensure your lens is clean and your camera is steady. Dust or smudges can cause focus issues.
- Use photo editing tools to sharpen slightly blurred images, but avoid overdoing it, which can create artifacts.
- Stabilize your camera with a tripod or by resting it on a solid surface to reduce motion blur.
If these tips don’t fix the problem, consider upgrading your gear or practicing steady-hand techniques. Remember, consistent maintenance of your equipment and post-processing can help salvage photos that aren’t perfect straight out of the camera.
Practice and Experiment: Finding the Perfect Settings for Dark Spaces
Practicing and experimenting with your camera settings is essential for capturing sharp images in dark environments like museums and churches. Start by adjusting your ISO to find the right balance between brightness and noise. Experiment with different lighting angles to reduce shadows and highlight details without using flash. Pay attention to your aperture; a wider lens opening lets in more light, helping you achieve sharper shots in low light. Don’t forget about color calibration—set your white balance properly to ensure accurate colors, which can vary under different lighting conditions. Take multiple test shots, adjusting these settings as you go. Over time, you’ll discover the perfect combination for each space, improving your ability to capture crisp, vibrant images even in challenging lighting.
Frequently Asked Questions
Can I Use Software to Enhance Low-Light Photos Afterward?
Yes, you can definitely use photo editing software to enhance low-light photos afterward. With noise reduction tools, you can minimize graininess caused by high ISO settings in dark environments. Additionally, photo editing software allows you to increase brightness and sharpness, making your images clearer. Just be careful not to overdo it, as excessive editing can create unnatural results. Properly processed, your photos will look much better despite the challenging lighting conditions.
How Do I Prevent Noise in High ISO Images?
To prevent noise in high ISO images, you should use noise reduction tools in your camera or editing software. Keep ISO settings as low as possible while maintaining a shutter speed fast enough to avoid blur. If you need higher ISO, consider shooting in RAW format for better noise reduction during post-processing. Properly balancing ISO, aperture, and shutter speed helps you capture sharp, cleaner photos even in low light.
Are There Specific Camera Models Better for Low-Light Church Photography?
You should look for cameras with larger sensors, like full-frame models, as they excel in low-light conditions. A fast lens with a wide aperture, such as f/1.4 or f/2.8, also helps gather more light, making your shots sharper and clearer in dark churches. Combining a camera with a high-quality sensor and a versatile lens with a wide aperture will give you the best results in low-light environments.
What Are Some Discreet Ways to Stabilize My Camera Without a Tripod?
Your camera is like a delicate bird, needing support to stay steady. To achieve handheld stabilization, you can press your camera firmly against a stable surface like a wall, pillar, or chair. Use creative support tools such as a bean bag, monopod, or even your camera bag to steady your shot. These discreet methods help you capture sharp photos without drawing attention or needing a bulky tripod.
How Can I Avoid Disturbing Other Visitors While Photographing?
You can avoid disturbing other visitors by practicing respectful behavior and keeping noise to a minimum. Use silent photography mode on your camera or smartphone to prevent shutter sounds from disrupting the peaceful environment. Move slowly and carefully, and avoid blocking walkways or views. Always be mindful of signage and staff instructions. By being considerate and discreet, you guarantee a pleasant experience for everyone while capturing stunning, sharp photos.
Conclusion
Mastering low-light photography in museums and churches is like tuning a delicate instrument—you need patience, the right tools, and a steady hand. By understanding your camera, choosing the right settings, and stabilizing your shots, you’ll turn dim environments into vivid stories without a flash. Keep experimenting and practicing, and soon, you’ll capture stunning images that shine even in the darkest corners, revealing beauty like stars piercing a night sky.