
To capture sharp night travel photos without blur, prioritize stability by using a sturdy tripod or support system suited to your environment. Keep your camera steady by holding it firmly, using proper posture, and pressing the shutter with a remote or timer to avoid shake. Adjust your camera settings carefully—use a low ISO, appropriate aperture, and slow shutter speed—while practicing simple support techniques. For more tips to perfect your night shots, keep exploring the key stability rules.
Key Takeaways
- Use a sturdy tripod with locking joints and rubber feet for maximum stability during long exposures.
- Fully extend and lock tripod legs, and keep the center column steady to prevent vibrations.
- Enable camera image stabilization and use remote shutter or timer to minimize vibrations.
- Hold the camera firmly with elbows close to your body and stabilize against a solid surface when possible.
- Avoid handheld shots in low light; prioritize stable positioning and proper gear to prevent motion blur.
Why Stability Is Crucial for Clear Night Photos
Stability is crucial for capturing clear night photos because even the slightest movement can cause blur. When shooting in low light, you need to maximize tripod stability to keep your camera steady during long exposures. A shaky tripod introduces vibrations that ruin sharpness, so ensure it’s secure on stable ground. Your camera grip also plays a vital role; hold your camera firmly, or better yet, use a remote shutter release to avoid touching the camera altogether. Even small hand movements can blur the image, especially at slow shutter speeds. By maintaining a stable setup through a sturdy tripod and a secure camera grip, you prevent unwanted motion. Additionally, understanding your camera’s capacity for long exposures can help you choose appropriate settings to minimize noise and enhance image clarity. Proper technique and stable equipment allow your camera to gather enough light without introducing motion blur, resulting in crisp, stunning night photos. Using additional stabilization methods, such as vibration dampers or weighted tripods, can further improve your results. Ensuring overall stability by checking your gear before shooting can make a significant difference in image quality. Moreover, selecting the right camera settings optimized for low-light conditions can further ensure sharpness in your photos.
Choosing the Best Tripod or Support for Night Shooting
When selecting a tripod or support for night shooting, consider the material it’s made from, as this affects durability and weight. Look for features that enhance stability, like locking mechanisms and leg braces, to keep your camera steady. Also, think about portability—lighter models are easier to carry but may sacrifice some stability for weight savings. Incorporating Free Floating designs can help achieve a more natural and steady shot without additional hardware. Additionally, choosing materials with vibration damping properties can further improve stability during long exposures. Using support materials with appropriate material properties tailored for night photography can provide improved performance in low-light conditions. Moreover, selecting supports with material composition that minimizes thermal expansion can reduce unwanted movement during extended shooting sessions.
Tripod Material Choices
Choosing the right tripod material is essential for capturing sharp night photos without blur. The support structure’s material impacts stability, weight, and durability. Aluminum tripods are popular because they’re strong, affordable, and relatively lightweight, making them easy to carry during travel. However, they can transmit vibrations more easily, so they might require additional stabilization. Carbon fiber tripods are lighter and better at absorbing vibrations, providing increased stability for long exposures, though they come at a higher cost. Plastic tripods are generally less durable and less stable, making them unsuitable for serious night photography. When selecting your support structure, consider how weight, portability, and vibration dampening align with your shooting needs. The tripod material directly influences your ability to maintain stability during long exposures at night. Additionally, vibration absorption varies significantly between materials, affecting image sharpness in low-light conditions. For optimal night photography results, choosing a support with superior shock dampening qualities can make a substantial difference in image clarity. To further improve stability, some photographers opt for additional stabilization accessories such as weights or sandbags. Moreover, paying attention to the connection points can prevent unwanted wobbling during extended shots. In addition, the ease of setup of different materials can influence how quickly you can adapt to changing shooting circumstances.
Support Stability Features
To capture sharp night photos without blur, selecting a tripod or support with effective stability features is vital. Look for camera accessories that include sturdy legs with locking mechanisms and a solid, vibration-resistant center column. Features like rubber feet or spiked ends improve grip on uneven surfaces, preventing unwanted movement. Additionally, consider supports with built-in bubble levels to ensure perfect alignment. Stability features such as weight hooks or adjustable legs help you fine-tune your setup for maximum steadiness. These support stability features are essential night photography tips, as even slight vibrations can ruin long exposures. Investing in a well-built support reduces camera shake, making your images crisp and clear in low-light conditions. Remember, stability is the foundation of sharp night photography. Properly assessing and utilizing these features can significantly enhance your camera stability, especially when dealing with long exposure techniques, and ultimately improve your image quality. Paying attention to support materials can further improve overall stability and durability of your setup. Ensuring your support system includes proper weight distribution can prevent tipping or shifting during extended shots.
Portability and Weight
Selecting a tripod or support that balances portability and weight is crucial for night shooting, especially if you plan to move between locations or hike to remote spots. You want something sturdy enough to keep your camera steady but lightweight enough to carry easily. Consider lightweight options like carbon fiber tripods, which offer strength without adding bulk. Using camera straps can help distribute the weight when you’re hiking or adjusting your setup. Avoid bulky tripods that hinder mobility, especially if you’ll be frequently changing locations. Instead, opt for compact, portable supports that fit comfortably in your gear bag. The right balance ensures you won’t tire quickly and can focus on capturing sharp night shots without feeling weighed down. Additionally, choosing lightweight gear designed specifically for travel can significantly enhance your shooting experience. Incorporating multi-function supports can also provide versatility without increasing weight, making your night photography more efficient and enjoyable. For added stability, consider supports with anti-vibration features, which can further improve image sharpness during long exposures. Being aware of ergonomic design can also reduce fatigue during extended shooting sessions. Selecting equipment with quick setup mechanisms can save valuable time in the field, making your night photography sessions more productive.
How to Set Your Camera for Sharp Night Photos

To capture sharp night photos, start by stabilizing your camera with a tripod or stabilizer. Then, carefully adjust your ISO, aperture, and shutter speed to balance exposure and minimize noise. Setting these correctly guarantees clear, crisp images even in low-light conditions. Additionally, solar safety considerations can help ensure your equipment remains protected during outdoor night photography. Using proper lighting techniques can further enhance image clarity and reduce motion blur in your photos. Employing camera stabilization tools can significantly improve your shot stability when shooting handheld in challenging conditions. Incorporating camera settings tailored for night photography can optimize your results and help prevent unwanted blur. For optimal results, understanding camera sensor behavior in low-light environments can also be highly beneficial.
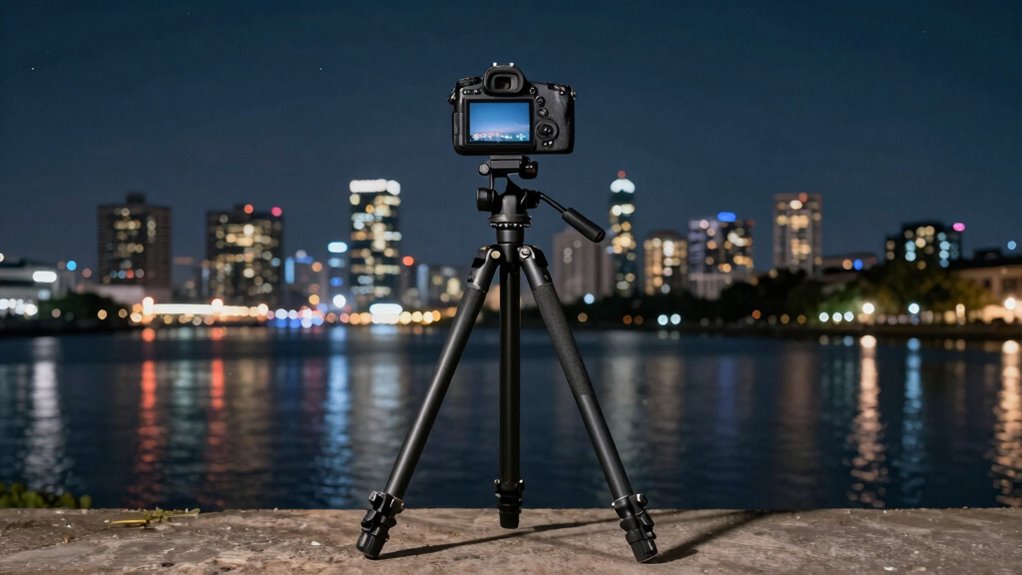
Use a Tripod or Stabilizer
Ever wondered how professional night photographers capture sharp, blur-free images? Using a tripod or stabilizer is essential. Start by checking tripod maintenance—ensure its joints are tight and stable. A sturdy tripod supports your camera’s weight capacity, preventing any wobbling during long exposures. Choose a tripod that can handle your camera’s weight comfortably. Keep it on a flat surface and extend the legs fully for maximum stability. Use the center column and a remote shutter release or timer to minimize vibrations. Lock all moving parts securely. Investing in a good tripod or stabilizer makes a noticeable difference, helping your camera stay perfectly still. Proper camera stabilization is crucial for sharp, clear night photos, especially when shooting long exposures or at low ISO settings.
Adjust ISO Settings Carefully
Adjusting your ISO settings carefully is essential for capturing sharp night photos because high ISO can introduce noise, while too low may require longer exposures that increase blur. Start with a moderate ISO, then tweak as needed based on lighting. Higher ISO boosts brightness but risks noise; lower ISO keeps images clean but may need stability or longer exposure. Use noise reduction features in your camera or post-processing to minimize grain if you must increase ISO. Here’s a quick guide:
| ISO Level | Typical Use Case | Noise Reduction Tips |
|---|---|---|
| 100-400 | Bright scenes or low-light indoors | Use in-camera noise reduction |
| 800-1600 | Night scenes with some movement | Apply noise reduction in editing |
| 3200+ | Very dark environments | Minimize ISO elevation if possible |
Adjust ISO carefully to balance exposure and noise for crisp night photos.
Set a Suitable Aperture
Choosing the right aperture is key to capturing sharp night photos. Your aperture size controls how much light enters the lens, which is vital in low-light conditions. A wider aperture (lower f-number) allows more light, helping you avoid blur caused by insufficient exposure. However, a very wide aperture reduces depth control, making it harder to keep everything in focus. To balance light and sharpness, select a moderate aperture like f/2.8 or f/4. if your lens allows. This setting provides enough light while maintaining good depth control, ensuring your foreground and background stay sharp. Adjusting the aperture correctly helps you achieve clear, detailed night photos without relying solely on longer exposures or higher ISO settings.
Using Image Stabilization Features Effectively
To capture sharp night travel photos without blur, you need to master your camera’s image stabilization features. Most modern cameras and lenses have built-in stabilization modes that reduce camera shake. Enable these features before shooting, especially in low-light conditions. Image stabilization is most effective when you’re using handheld techniques, as it compensates for small movements. Keep the stabilization mode activated during your shots, but remember it might not work perfectly at very slow shutter speeds—so don’t rely solely on it. Experiment with different settings to see what works best for your camera and lens combination. Using image stabilization correctly can make a significant difference, allowing you to shoot at lower ISO and slower shutter speeds without sacrificing sharpness.
How to Hold Your Camera for Maximum Stability
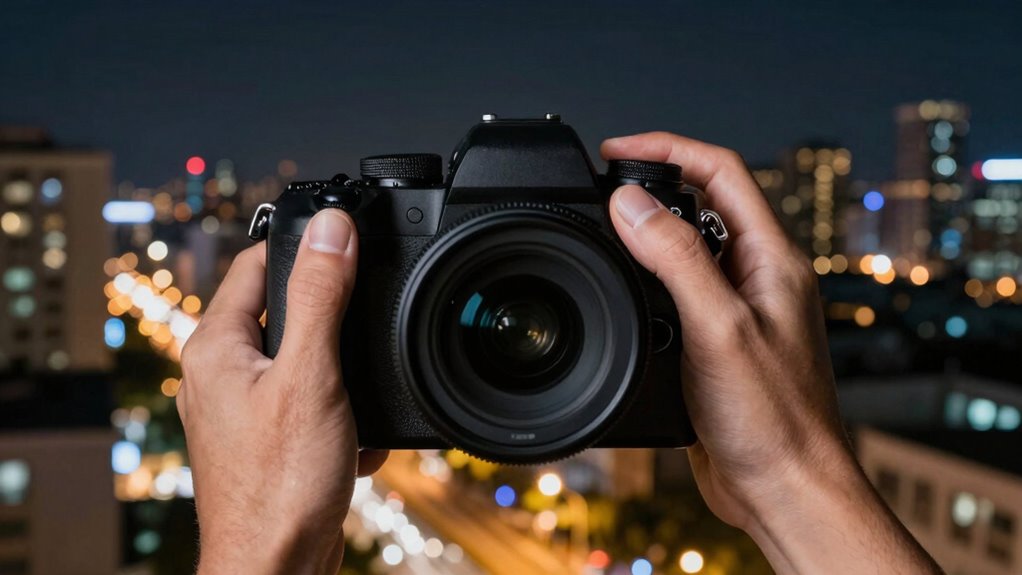
Holding your camera correctly is essential for capturing sharp night travel photos. A proper camera grip involves holding the camera firmly with both hands—your dominant hand on the grip and your other supporting the lens or body. Keep your elbows close to your sides to minimize movement and improve hand steadiness. When you raise the camera to shoot, stabilize your stance by planting your feet shoulder-width apart. Lean against a stable surface if possible, and exhale slowly to reduce body tremors. For added stability, consider using a camera strap around your neck or wrist, ensuring it’s snug but comfortable. Developing a consistent grip and maintaining hand steadiness are key to avoiding blur and capturing crisp night shots.
Picking the Right Lens and Focal Length for Night Shots

Selecting the right lens and focal length is essential for capturing sharp, well-exposed night photos. Your lens selection impacts how much light enters your camera and influences image sharpness in low-light conditions. For night shots, wide-angle lenses with focal length choices between 14mm and 35mm are ideal because they allow more light and provide broader scenes, reducing the need for extreme stability. A kit lens or a prime wide-angle lens helps you capture expansive cityscapes or starry skies without excessive blur. Avoid telephoto lenses unless you use a tripod, as they magnify movement and require even steadier hands. By choosing the appropriate focal length, you optimize your camera’s ability to gather light, enhancing clarity and reducing the risk of blur during night travel photography.
Best Spots and Techniques to Keep Your Camera Stable

Finding stable spots for your camera is essential to capturing sharp night photos. Look for solid surfaces like park benches, walls, or rocky ledges that support your camera’s ergonomics, reducing strain and movement. You can also brace against sturdy objects for added stability. To visualize, consider the following:
| Stable Spot Options | Support Techniques |
|---|---|
| Park benches | Use your body as a tripod |
| Building walls | Lean into stable surfaces |
| Rocky ledges | Use natural terrain for support |
When applying astrophotography techniques, keep your camera close to your body to minimize shake. Using natural and man-made stable spots helps achieve clear, crisp images without blur.
Using Remote Shutter Releases and Timers to Prevent Blur

To prevent camera shake and guarantee sharp night photos, using remote shutter releases or camera timers is highly effective. A remote shutter allows you to trigger the camera without touching it, eliminating vibrations caused by pressing the button. Alternatively, setting a timer delay, typically 2 to 10 seconds, gives the camera time to stabilize after pressing the shutter. This is especially useful if you’re using a self-timer function or a smartphone app. Both methods help you avoid accidental movement that can blur your shot. When you combine a remote shutter with a timer delay, you maximize stability and reduce the risk of shake. This simple step considerably improves the sharpness of your night travel photos, ensuring clear, detailed results even in low-light conditions.
Common Mistakes That Cause Night Photos to Blur: and How to Avoid Them
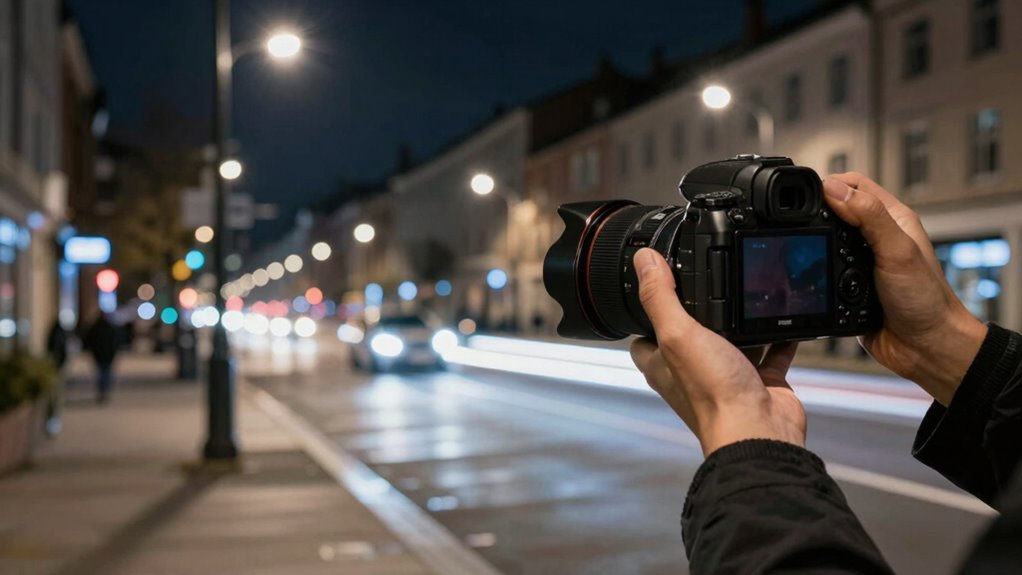
One common mistake that causes night photos to blur is using too slow shutter speeds without stabilizing your camera properly. When you keep the shutter open longer, your camera sensor captures more light, but any movement results in a blurry image. Without a tripod or steady surface, even slight shakes cause blur, especially in low-light conditions. Additionally, increasing ISO to compensate for low light can introduce image noise, degrading overall quality. This noise can make the photo look grainy and distract from sharpness. To avoid this, stabilize your camera with a tripod, use the appropriate shutter speed, and keep ISO low to minimize noise. Proper stabilization ensures sharp night photos without sacrificing image quality.
Troubleshooting Blurry Night Photos: Quick Fixes and Tips

When your night photos turn out blurry, quick adjustments can often make a noticeable difference. Start by checking your camera lens maintenance—clean the lens to remove smudges or dirt that can cause blur. Next, enhance your photos through night photo editing; sharpening tools can help clarify details. Lastly, consider these tips:
- Use a tripod or stabilize your camera to reduce shake.
- Increase ISO or exposure time cautiously to brighten images without introducing noise.
- Review your focus settings, ensuring autofocus is accurate or switch to manual focus for better control.
Applying these simple fixes can improve your results instantly. Remember, combining proper camera lens maintenance with smart editing and stabilization techniques will help you capture sharper, clearer night travel photos.
Frequently Asked Questions
What Are the Best Weather Conditions for Night Photography Stability?
You’ll get the best stability for night photography in clear weather with moonlit skies. Clear conditions reduce atmospheric disturbances, preventing blurry images, while moonlit skies provide enough natural light to avoid long exposure times that can cause shake. Avoid windy nights, as strong gusts can shake your camera. Opt for calm, clear nights when the sky is illuminated by the moon to capture sharp, stunning night travel photos.
How Does Ambient Light Affect Exposure Settings for Sharp Night Photos?
Did you know that higher ambient light reduces sensor noise and allows lower ISO settings? When shooting at night, ambient light directly influences your exposure settings. More light lets you use a lower ISO, minimizing noise and improving sharpness. Conversely, in darker conditions, you’ll need to increase ISO, which can introduce noise. Adjust your aperture and shutter speed accordingly to maintain proper exposure and achieve sharp night photos without blur.
Can Smartphone Cameras Achieve Stable Night Shots Without a Tripod?
Yes, you can get stable night shots on your smartphone without a tripod. Use tripod alternatives like steady surfaces or smartphone mounts, and enable image stabilization features in your camera app. These tools help reduce hand-shake and motion blur, especially in low light. Keep your hands steady, avoid sudden movements, and consider using a timer to minimize vibrations. With these tips, your night photos will come out sharp and clear.
What Post-Processing Techniques Can Help Reduce Blur in Night Photos?
You can reduce blur in night photos through post-processing by applying noise reduction to smooth out grainy areas caused by low light. Additionally, use sharpening techniques carefully to enhance details without introducing artifacts. Adjust sliders gradually to balance clarity and natural look. Combining noise reduction and selective sharpening helps improve overall image sharpness, making your night shots appear clearer and more professional.
How Do Different Camera Sensor Sizes Influence Night Shot Stability?
Your camera’s sensor size markedly impacts night shot stability. Larger sensors, like full-frame ones, gather more light, allowing you to use lower ISO and faster shutter speeds, reducing blur. They also work better with optical image stabilization. Smaller sensors struggle with low light, often requiring longer exposures that increase blur risk. To keep shots sharp, choose cameras with bigger sensors and rely on image stabilization features to minimize shake and motion blur.
Conclusion
Staying stable is the secret to capturing crisp night photos, like holding a delicate butterfly. By choosing the right support, mastering your camera settings, and using timers or remote triggers, you’ll keep your shots sharp and stunning. Remember, practice makes perfect—so keep experimenting and stay patient. With these simple rules, you’ll turn blurry night scenes into clear, breathtaking images that glow with every click.